How to Install an eSIM on an iPhone Step by Step
Installing an eSIM on an iPhone means adding a second cellular plan, and the whole process takes about two minutes on a stable connection.
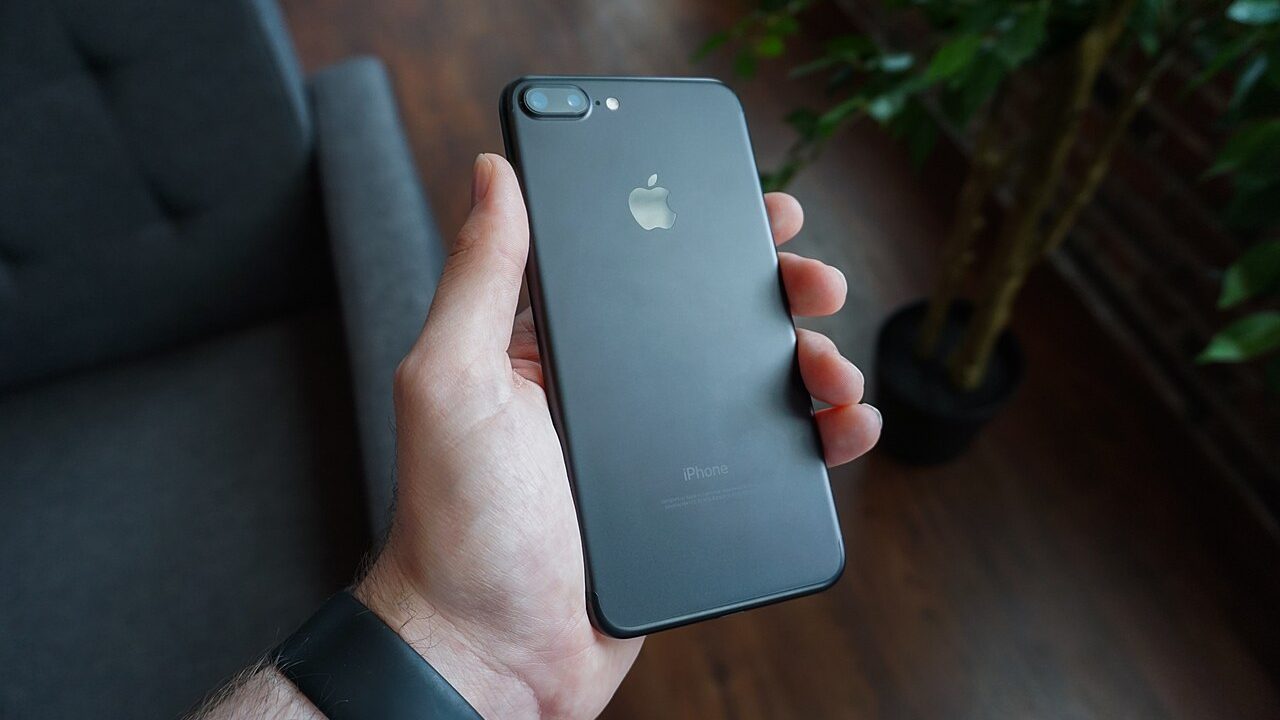
Installing an eSIM on an iPhone means adding a second cellular plan, and the whole process takes about two minutes on a stable connection.
Everything below happens in the settings app, and none of it requires a call to your carrier.
What do you need before you start?
You need the phone, a working internet connection and the activation details from your provider.
You also need to know which iPhone model you have, because support depends on the model and the region it was sold in.
Finally, the device must be carrier unlocked, or it will refuse to add a plan from another provider.
Checking the lock status first saves a frustrating few minutes halfway through the process.
Everything else is a matter of following the screens in order.
Where does the installation happen?
Open settings, then mobile service or cellular, depending on the region your phone was set up in.
Look for the option to add a plan or add an eSIM, which appears near the bottom of the list.
On dual SIM models this screen also shows your existing physical line and its settings.
If the option is missing entirely, the handset does not support eSIM or is locked to a carrier.
Most people find it within thirty seconds of opening the settings app.
How do you scan the QR code?
Choose the option to add a plan, then select the route that scans a QR code with the camera.
Hold the phone about fifteen centimetres from the code and wait for the detection sound.
Some providers also print an activation code underneath the code, which you can type manually instead.
Reading the code is faster and less error prone than typing it, so use the camera where possible.
Once the code is recognised, the phone downloads the profile from the provider automatically.
Can you install without a QR code?
Yes, and there are two common alternatives that many providers now offer as their default.
The first is an app install, where the provider’s app fetches the profile and adds it directly.
The second is a manual entry, where you type the address and confirmation code by hand.
Manual entry is slower and easier to get wrong, but it works when a camera is unavailable.
Whichever route is offered, the end result in settings is identical.
What happens after the profile downloads?
You will be asked to label the new line, and a clear name now saves confusion later.
Naming it something like travel data rather than line two makes the next screen much easier to read.
The phone then asks which line should be used for mobile data by default.
For a travel plan you will normally choose the new line for data and keep the old one for calls.
Answering these two questions correctly is the whole of the configuration.
What settings matter most?
Set the travel line as the default for mobile data, so traffic does not run through your home tariff.
Turn on data roaming for the travel line, because a travel plan normally registers as roaming.
Leave the home line in place for calls and messages, including verification codes.
Consider turning off data switching, which can otherwise let the phone move data to the wrong line.
These four settings decide whether the plan works when you land.
Should you install before you travel?
Yes, and there is no disadvantage to doing it at home on a reliable connection.
The plan stays dormant until it connects to a supported network in the destination, so nothing is consumed early.
Installing at the airport on a poor connection is where most failed attempts happen.
Doing it at a kitchen table removes the time pressure entirely.
It also gives you the chance to fix any problem while you still have easy support options.
How many plans can an iPhone hold?
Recent models store eight or more, though only two lines can be active at once on most versions.
Stored but inactive plans consume nothing and can be switched on whenever they are needed.
Keeping an old plan installed is harmless and occasionally useful on a later trip.
If you run out of storage for profiles, the phone will tell you when you try to add another.
In practice almost nobody reaches that limit.
What if the installation fails?
Check that the phone is unlocked, since a locked handset is the most common cause by a distance.
Confirm the code has not already been used, because a profile can only be downloaded once.
Restart the phone and try again, which resolves a surprising number of stalled downloads.
If it still fails, ask the provider for a fresh code and remove any partially installed entry first.
A second failure is a signal to contact support rather than to keep repeating the same steps.
How do you know it worked?
The new line appears in mobile service settings with the plan name and a network indicator.
Before you travel, it may show no service, which is normal and simply means no supported network is present.
On arrival, a network name appears within a minute or two of the phone connecting.
If nothing appears after ten minutes, restart the phone and then select the network manually.
Those two steps fix the overwhelming majority of first-connection problems.
What about transferring an eSIM to a new iPhone?
Some providers support a direct transfer between iPhones during the setup assistant on the new device.
Where that is not available, the provider issues a new code and the old profile is deactivated.
Always delete the profile from the old phone once the new one is working, to avoid two active copies.
Most providers allow a free reissue, though a few charge a small fee for it.
Checking the policy before you buy the new phone is worth the two minutes it takes.
Is there anything to set up after you land?
On arrival, switch the travel line on if you left it off, then confirm that mobile data is still pointed at that line rather than at your home tariff, because a phone restart or a software update can quietly reset the default.
Turn data roaming on for the travel line if it is not already enabled, since a travel plan normally registers as roaming even though it is the correct and intended behaviour.
Leave your home line enabled for calls and messages so that verification codes continue to arrive, but make sure it is not set as the data line or the trip will be expensive.
If nothing connects within a couple of minutes, restart the phone once and then choose the network manually from the list your provider published.
So what is the short version?
Check the lock, open settings, add a plan, scan the code, label the line and choose it for data.
Turn on roaming for the new line and leave the home line for calls.
Do all of it before you leave home, on a connection you trust.
Then land, wait a minute, and check the network name at the top of the screen.
That is the entire process, and it rarely takes longer than making a cup of tea.